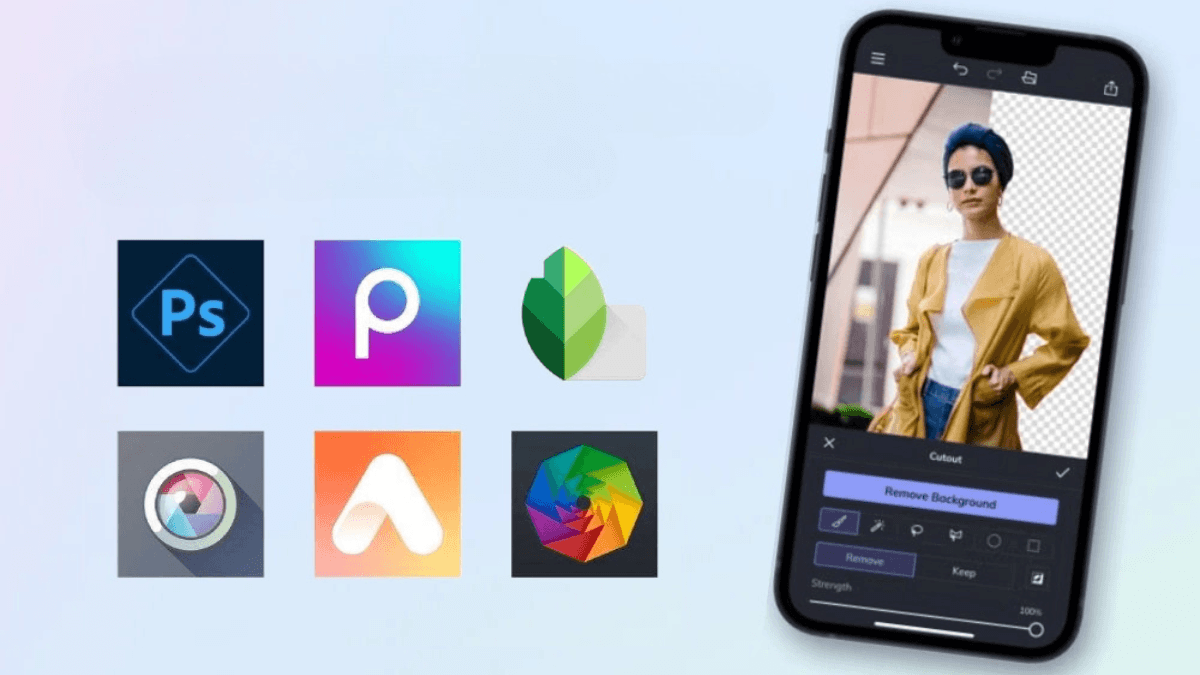
The direct answer: start with Instagram's own app. Meta publishes a standalone editing app called Edits, and it is the logical starting point before you pay for anything. After that, the choice splits by job rather than by popularity: precise photo correction, a consistent visual look, portrait work, or video and Reels editing. Most creators need two apps, not twelve.
1. Start with Instagram's own app: Edits
Edits is Meta's video editing app aimed at Instagram creators. Its value is not that it is technically the best, but that it is:
- From the same company as the platform you publish on, so there are no compatibility surprises.
- Free of another platform's watermark, which turns out to matter a great deal (see section 9).
- Enough for most reels without a subscription.
Try it first. If it covers you, the question is settled. If it does not, you now know exactly what you are missing.
2. You need two apps, not twelve
A practical stack that covers most accounts:
- One photo app: exposure, colour, and a repeatable look.
- One video app: trimming, sequencing, on-screen text, and captions.
Installing six apps means six interfaces and six inconsistent results. Visual consistency comes from repeating the same treatment, and that is far easier inside one app.
3. Precise photo correction
This category is for people who want full control of exposure, shadows and colour, and who want to save their settings and apply them to later photos.
What to look for: control over curves and individual colours, the ability to save and reuse a preset, and full-resolution export. Those are the real differences between apps, not the number of filters.
4. Filters and a consistent look
The goal here is different: not improving one photo, but making all your photos look like they came from one account.
What to look for: a limited but adjustable set of filters, and the ability to copy a treatment from one photo to another. And the working rule: choose one or two and stay with them. An account using a different filter each time loses visual recognition.
5. Portrait and retouching
For accounts whose content is faces: skin, light and detail. The single rule here is that light editing reads as professional and heavy editing reads as artificial, especially in video, where movement exposes any overprocessing.
6. Video and Reels editing
This category now matters most, because Reels is the primary reach format. What you genuinely need:
- Precise trimming and clip sequencing.
- On-screen text you can time.
- Automatic captions you can correct.
- Vertical export at full resolution with no watermark.
The decisive point: some editing apps add a watermark on their free tier. Do not use those for Instagram, because Instagram names watermarked reels among what it shows less.
Making the reel itself is covered in how to make Reels.
7. Collage and layout
For carousels, Stories and Highlight covers, simple design tools are enough. What you need are templates at the right dimensions and readable type. And remember that a carousel's orientation applies to every item, so decide it before you start designing: carousel posts.
8. Shooting basics before you edit
No app saves a bad shot. Four things settle quality before any editing:
- Light: one source in front of the subject. A window beats any cheap lamp.
- Framing: vertical for Reels and Stories, leaving space at the top and bottom because the interface covers parts of the screen.
- Stability: rest the phone on any surface. Shake is the fastest way to look amateur.
- Cleanliness: wipe the lens. Most blurry footage is a fingerprint, not a camera limitation.
9. Export settings and why resolution matters
This is not an aesthetic preference, it is documented. Instagram publishes that reels which are low resolution or blurry, or which carry borders, logos or watermarks, or which are majority text, are shown less.
What follows practically:
- Export at the highest resolution the app allows, and do not re-upload a file that has already been compressed several times.
- Do not use a free tier that stamps its own watermark.
- Do not add a frame around the video to fill the screen.
- Do not publish a clip downloaded from another platform, because it carries that platform's watermark.
10. A workflow you can repeat
- Shoot vertically, with front light and the phone supported.
- Select the best takes before editing, because editing does not rescue a weak one.
- Edit in one app with the same treatment every time.
- Add text and captions.
- Export at full resolution with no watermark.
- Upload from the same device you exported on.
11. Apps to avoid
- Anything that stamps its watermark on the free tier.
- Apps for downloading content from other platforms to repost.
- "Magic filter" apps that output images bearing no relation to your reality.
- Any app asking for your Instagram login. Editing tools do not need your account.
12. FAQ
What is Instagram's own editing app?
Edits, a video editing app Meta publishes for creators.
What do creators use to edit Reels?
It varies, but the criterion does not: vertical export at full resolution with no watermark. That matters more than the app's name.
Do filters hurt reach?
No official statement covers filters. What is documented is that low resolution, watermarks, borders and muted audio are shown less.
Do I need a paid app?
Not necessarily. Start with Instagram's tools and Edits, and only pay for a specific reason you can name.
Is editing inside Instagram enough?
For many accounts, yes. The in-app tools cover trimming, speed, text, captions and audio.
Why does my content look worse after uploading?
Platforms compress files. Export at the highest resolution and upload from the device you exported on rather than moving the file around repeatedly.
13. Practical summary
Start with Edits and Instagram's built-in tools. Add one photo app and one video app only when you hit a specific limitation. Keep the same treatment every time so people recognise your work. And always export at full resolution with no watermark, because that is not a matter of taste, it is Instagram's published list of what gets shown less. Good shooting before editing saves you half the work.
Choosing the format itself is covered in Instagram content creation, and the rest of the library is in the Instagram Resource Hub.
14. Official sources
- Reels that are shown less: low resolution or blurry, borders, logos and watermarks, majority text, and not original.
- Reels limits: recording and editing up to 20 minutes.
- Carousel posts: one orientation for all items, which determines your export dimensions.
- Instagram tips for improving your reach: originality and quality.